


How to create, maintain and use authorization files
TweetAuthorization files are new dbBee feature added in April 2016th with purpose of protecting any kind of dbBee project/app with user name and password. The principle of protection is similar to that used for Admin projects, but with more options and more versatile use.
dbBee authorization files support both basic and digest authentication types and work perfectly with all dbBee insertion codes (iframe code, embed code and both plugins – idbbee and edbbee), as well as with CORS AJAX calls using "withCredentials” property.
Working with files
To create and maintain authorization files open
the "Manage authorizations” page from your dashboard by clicking the link
shown on image below:
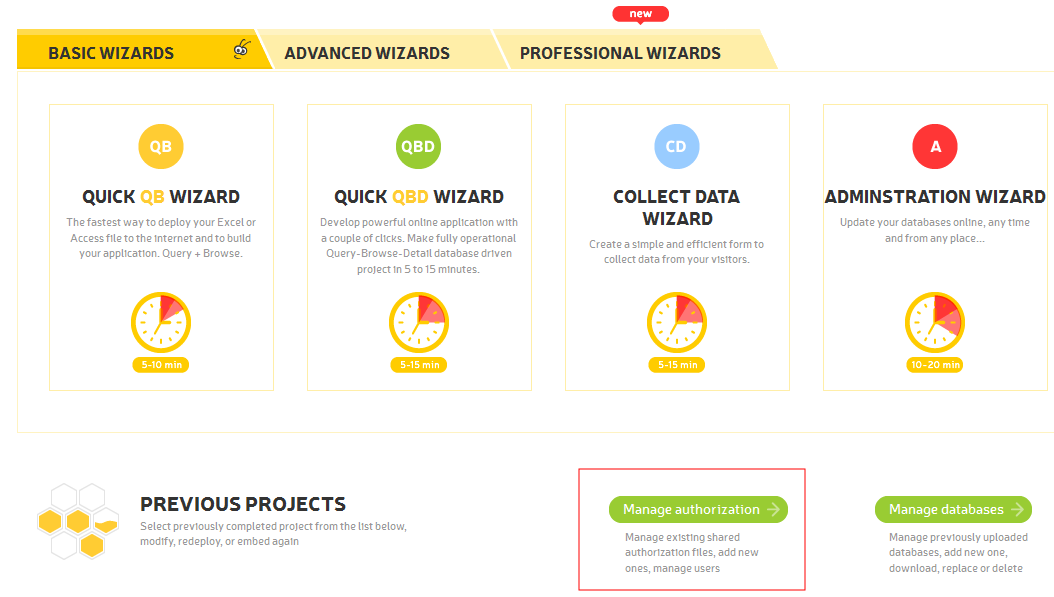
Authorization manager allows you to create and delete authorization files and to manage users (add user, change password, delete user).
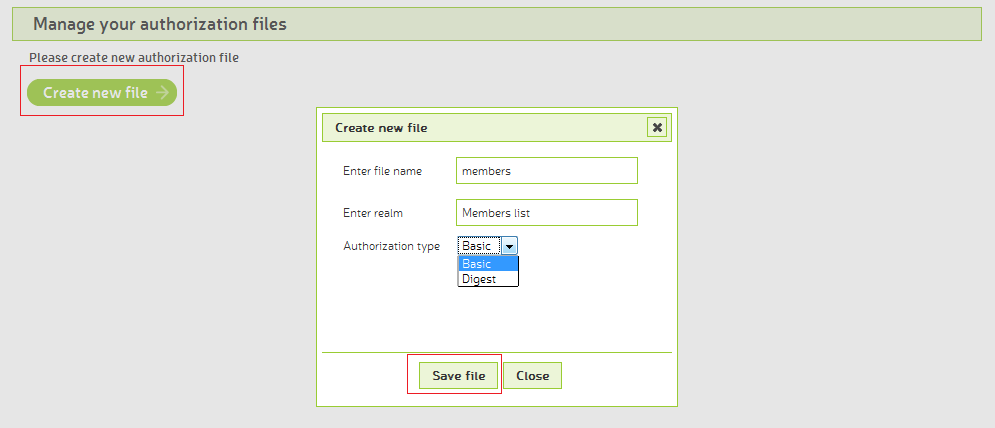
To create new authorization file click the link "Create new file”, enter the file name (no extension needed, proper extension will be added automatically), enter the realm (the realm value combined with the URL of the server being accessed defines the protection space), select the authorization type (basic or digest) and click the "Save file” button. Digest authentication is much safer option (it never sends your credentials over the Internet) but it does not support sending user name and password as POST or GET variables dbBee_user and dbBee_password (which can be useful for some CUD projects).
Please note that your dbBee user name and password will be automatically added to every authorization file you create and you can’t delete or change that entry.
Once you have created your authorization file, it will be automatically opened for editing (maintaining users). Also, you can open it any time using dropdown menu and "Open” button shown on the image below:
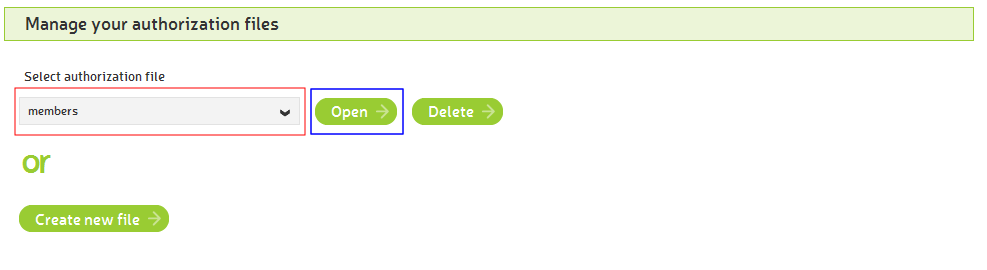
Deleting existing authorization file is done using the same dropdown menu in combination with button "Delete”. Once you delete the authorization file, all projects that were using it will stop working until you open them in wizard, change authorization file they use (or remove the authorization file completely) and redeploy the project.
Working with users
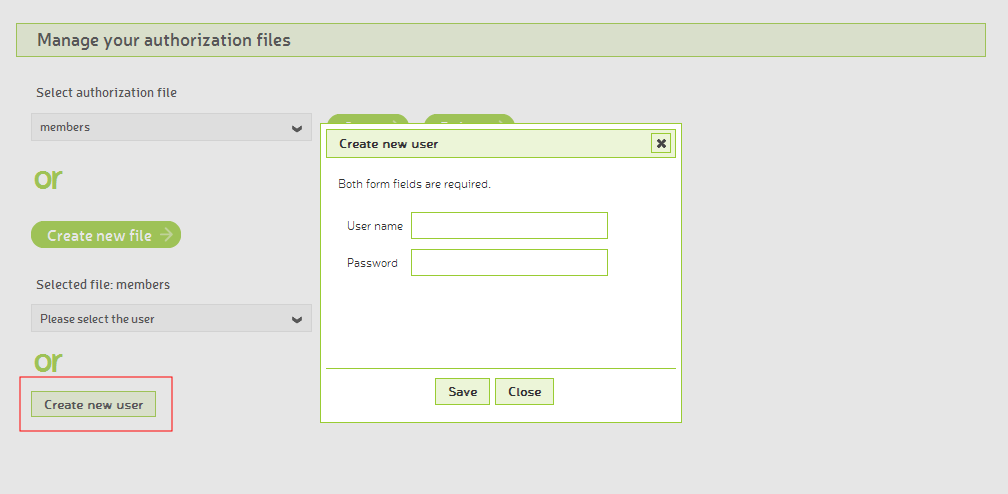
To add new user to your authorization file, click the "Create new user” button (as shown on the image above), enter user name and password and click the "Save” button. Repeat this procedure for every user you want to add and close the dialog using the "Close” button once you add all the users. You can always open the authorization file to add new users, change passwords or delete existing users from that file.
To delete user, select user from dropdown menu shown in the image below and click the "Delete user” button. Use the same dropdown menu to select user for changing password.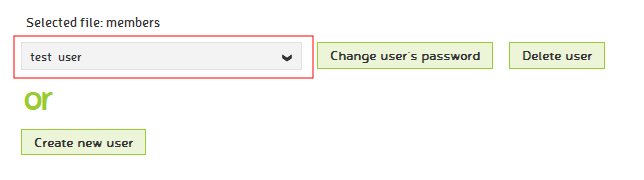
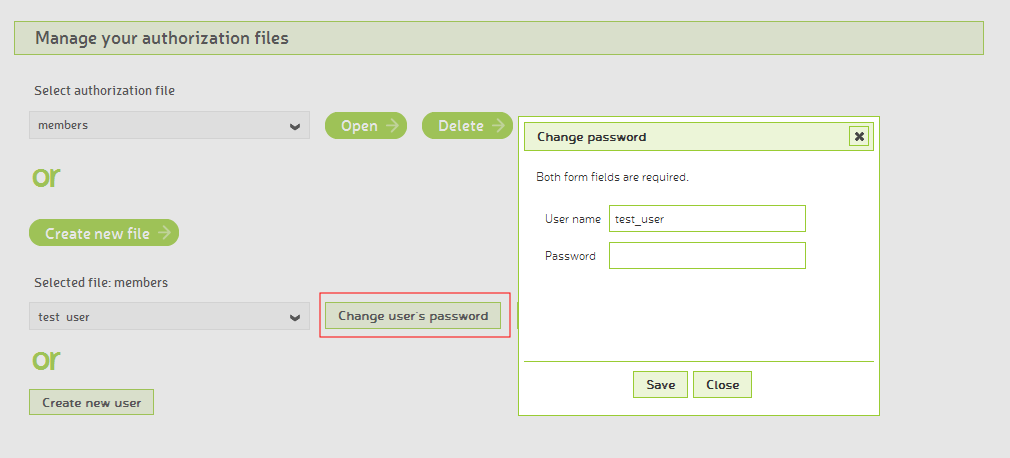
To change user’s password click the "Change user’s password” button and type the new password using the dialog box (see the image below):
All the changes related to authorization files have the immediate effect to all the projects that use that particular authorization file. There’s no need to re-deploy (or edit in any way) projects that use authorization file for the changes to take the effect. For example, if you delete the user from authorization file, that particular user will immediately be denied the access to any project using the authorization file from which the user was deleted. Same applies to adding new users and password changes.
Adding the authorization file to your project
Using authorization files is a premium feature and therefore available with paid plans only. Users of free plan can create authorization files and add them to their advanced and professional projects for evaluation purposes - they can’t deploy advanced projects (they can just save them) and professional projects are limited to 3 records only. Paid users have the authorization file option available in basic wizards too.Adding authorization file is the same for all project types with the only difference between single script projects (QB, JDE, XDE, ED) and multi script projects (QBD, CD, CUD). Multi script wizards allow user to select which steps of the process will be protected. For example, in case of QBD project, user can choose to protect only the detail view, while leaving the browse view opened for everyone. Also in case of CUD project, user may decide to leave adding new records unprotected while protecting updating and deleting records.
To add an authorization file to your project use the dropdown menu "Select authorization file” as shown on the image below:
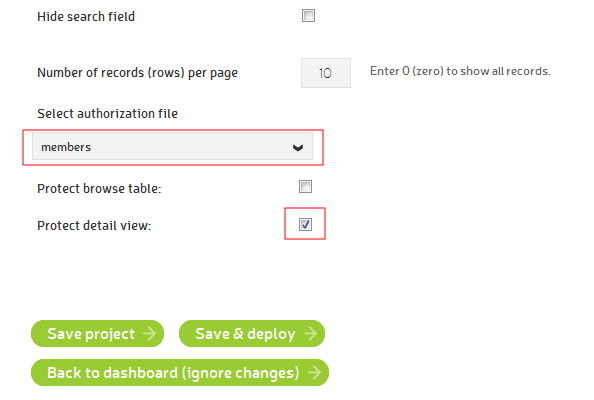
In this example we used the authorization file named "members”. Note that only the detail view will be password protected, since we unchecked "Protect browse table” checkbox.
Related blogs
 Include URL – mega-power in small bottle
This is a very powerful feature that enables our users to add any kind of content at the bottom of their advanced dbBee projects.
Showing search results in different frame on the same page
This article explains how to use new parameter "Target frame" in Search form wizard
Include URL – mega-power in small bottle
This is a very powerful feature that enables our users to add any kind of content at the bottom of their advanced dbBee projects.
Showing search results in different frame on the same page
This article explains how to use new parameter "Target frame" in Search form wizard